(With thanks to Megan S for allowing me to use her images)
One of the most rewarding elements of what I do is helping others improve their photography.
Last summer I was approached by Megan S who asked me if I would mentor her for a period of 6 months as she wanted to improve her sport photography as the ‘skills’ element of her Duke of Edinburgh Gold Award.

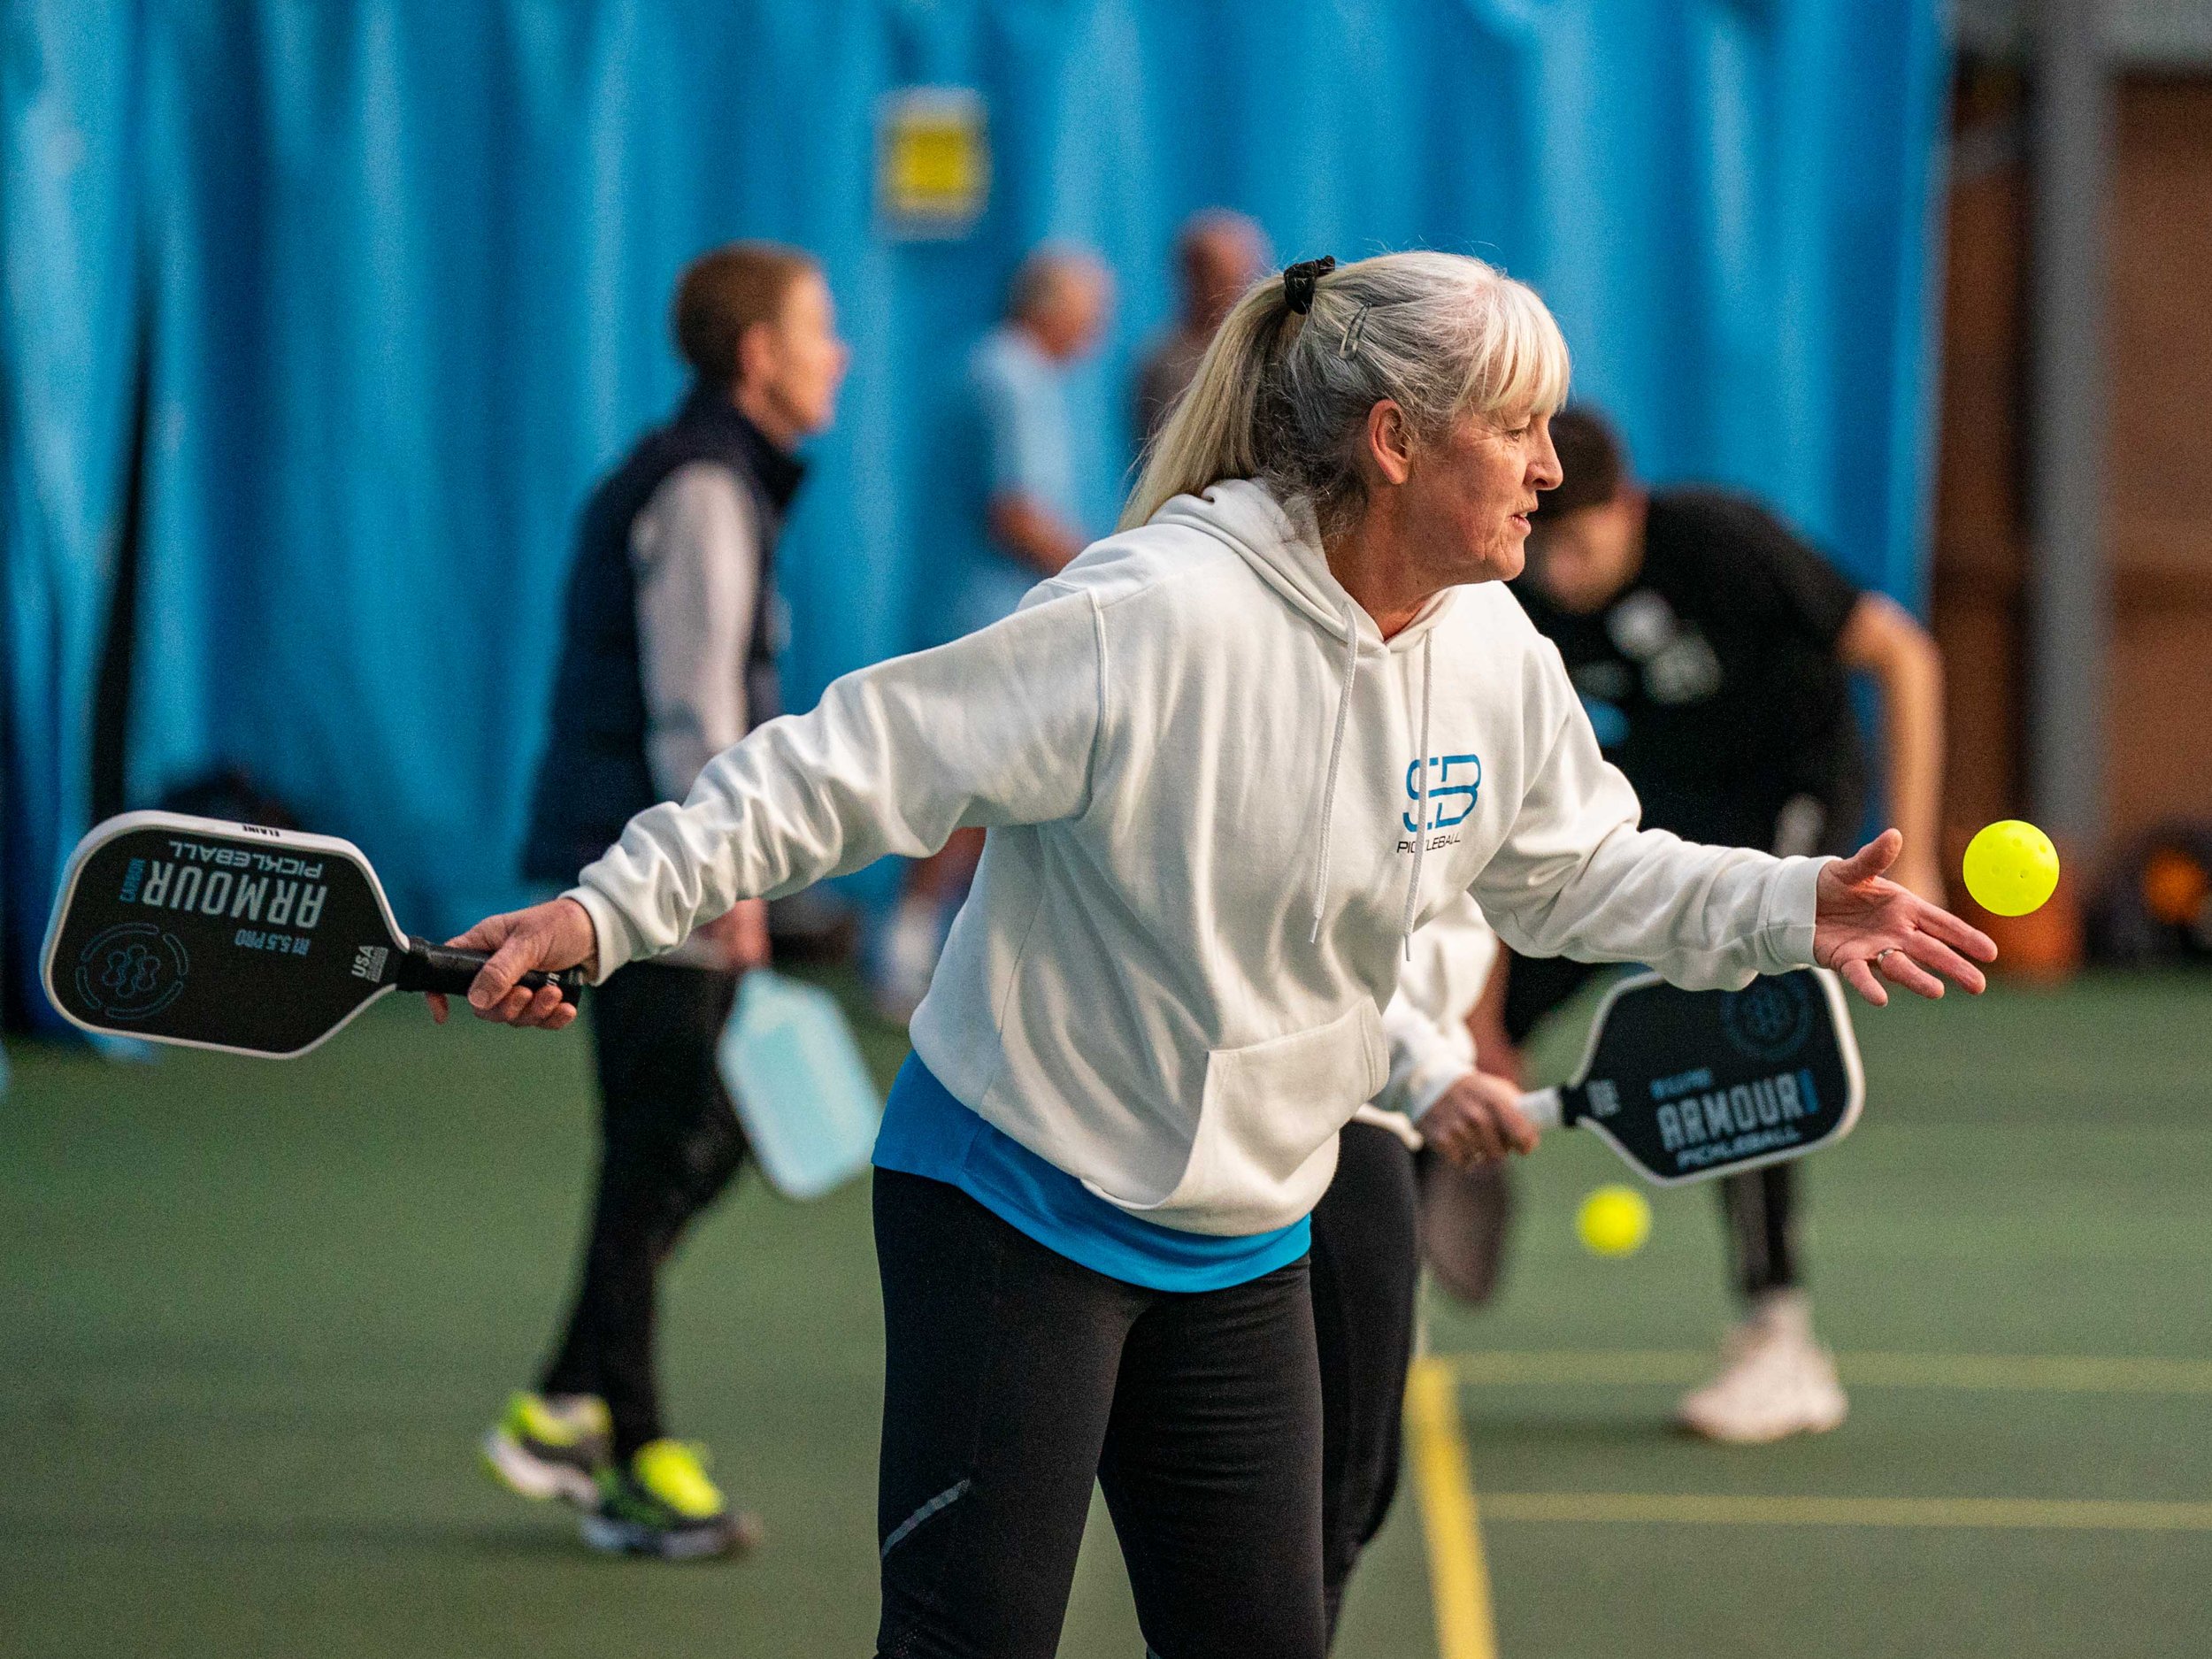
Start of Project Image - Image copyright Megan S
(Nikon D500; 70-200mm @ 80mm (123mm); 1/1000th Sec; f/5.0; ISO 500)
I started by going to her website and selecting a number of her football images. I critiqued each of them, saying what I liked about them and suggesting what she could have done differently. I recommended that she go out again and take some more football photographs, using the techniques and camera settings that I had mentioned in my critique.
I asked her to send me a dozen or so of her favourite images, which she did. Instead of commenting on them myself, I asked her to critique them herself. This made her look differently at her own photographs and forced to become more objective in considering her own work.
“Michael gave me really good feedback on my photos, which I then went out and tried and they turned out so much better. I entered some photos into my photography club competitions and most of them got 10/10.”
The improvement was significant. I then suggested that she go out and cover as many different sports as she could, applying the principles that we had established with football in other situations. This enabled her to practise adapting to changing circumstances, which is essential with sports photography.

Image copyright Megan S
(Canon EOS 5D Mark III; 150-500mm @ 500mm; 1/2000th Sec; f/6.3; ISO 640)
Megan kept sending me photos and we discussed them together. She kept being frustrated by the weather when trying to photograph cricket, but I was able to arrange for her to join me at a Hampshire match, and we spent an enjoyable day together watching and photographing the cricket (see above).
“Michael managed to get me into the Utilita Bowl to photograph the Hampshire cricket team. He taught me a lot about the game and what to expect, as that is very important to make sure I don’t miss anything.” Megan S
She is also a member of a camera club, and the scores that she was getting for her images in competitions started to increase. Towards the end of the 6-month period, she sent me another selection of football photos, and this included a particularly good image (see below).
I suggested that she enter it in the next competition at her club. To my surprise – and disappointment – it only received a score of 9 out of 10. Very respectable, but I didn’t think it received the recognition it deserved.
Megan did tell me however that her club was going to enter it into a competition being run by the Southern Counties Photographic Federation. I also had 3 photos entered in that same competition – so, we were going ‘head to head’!

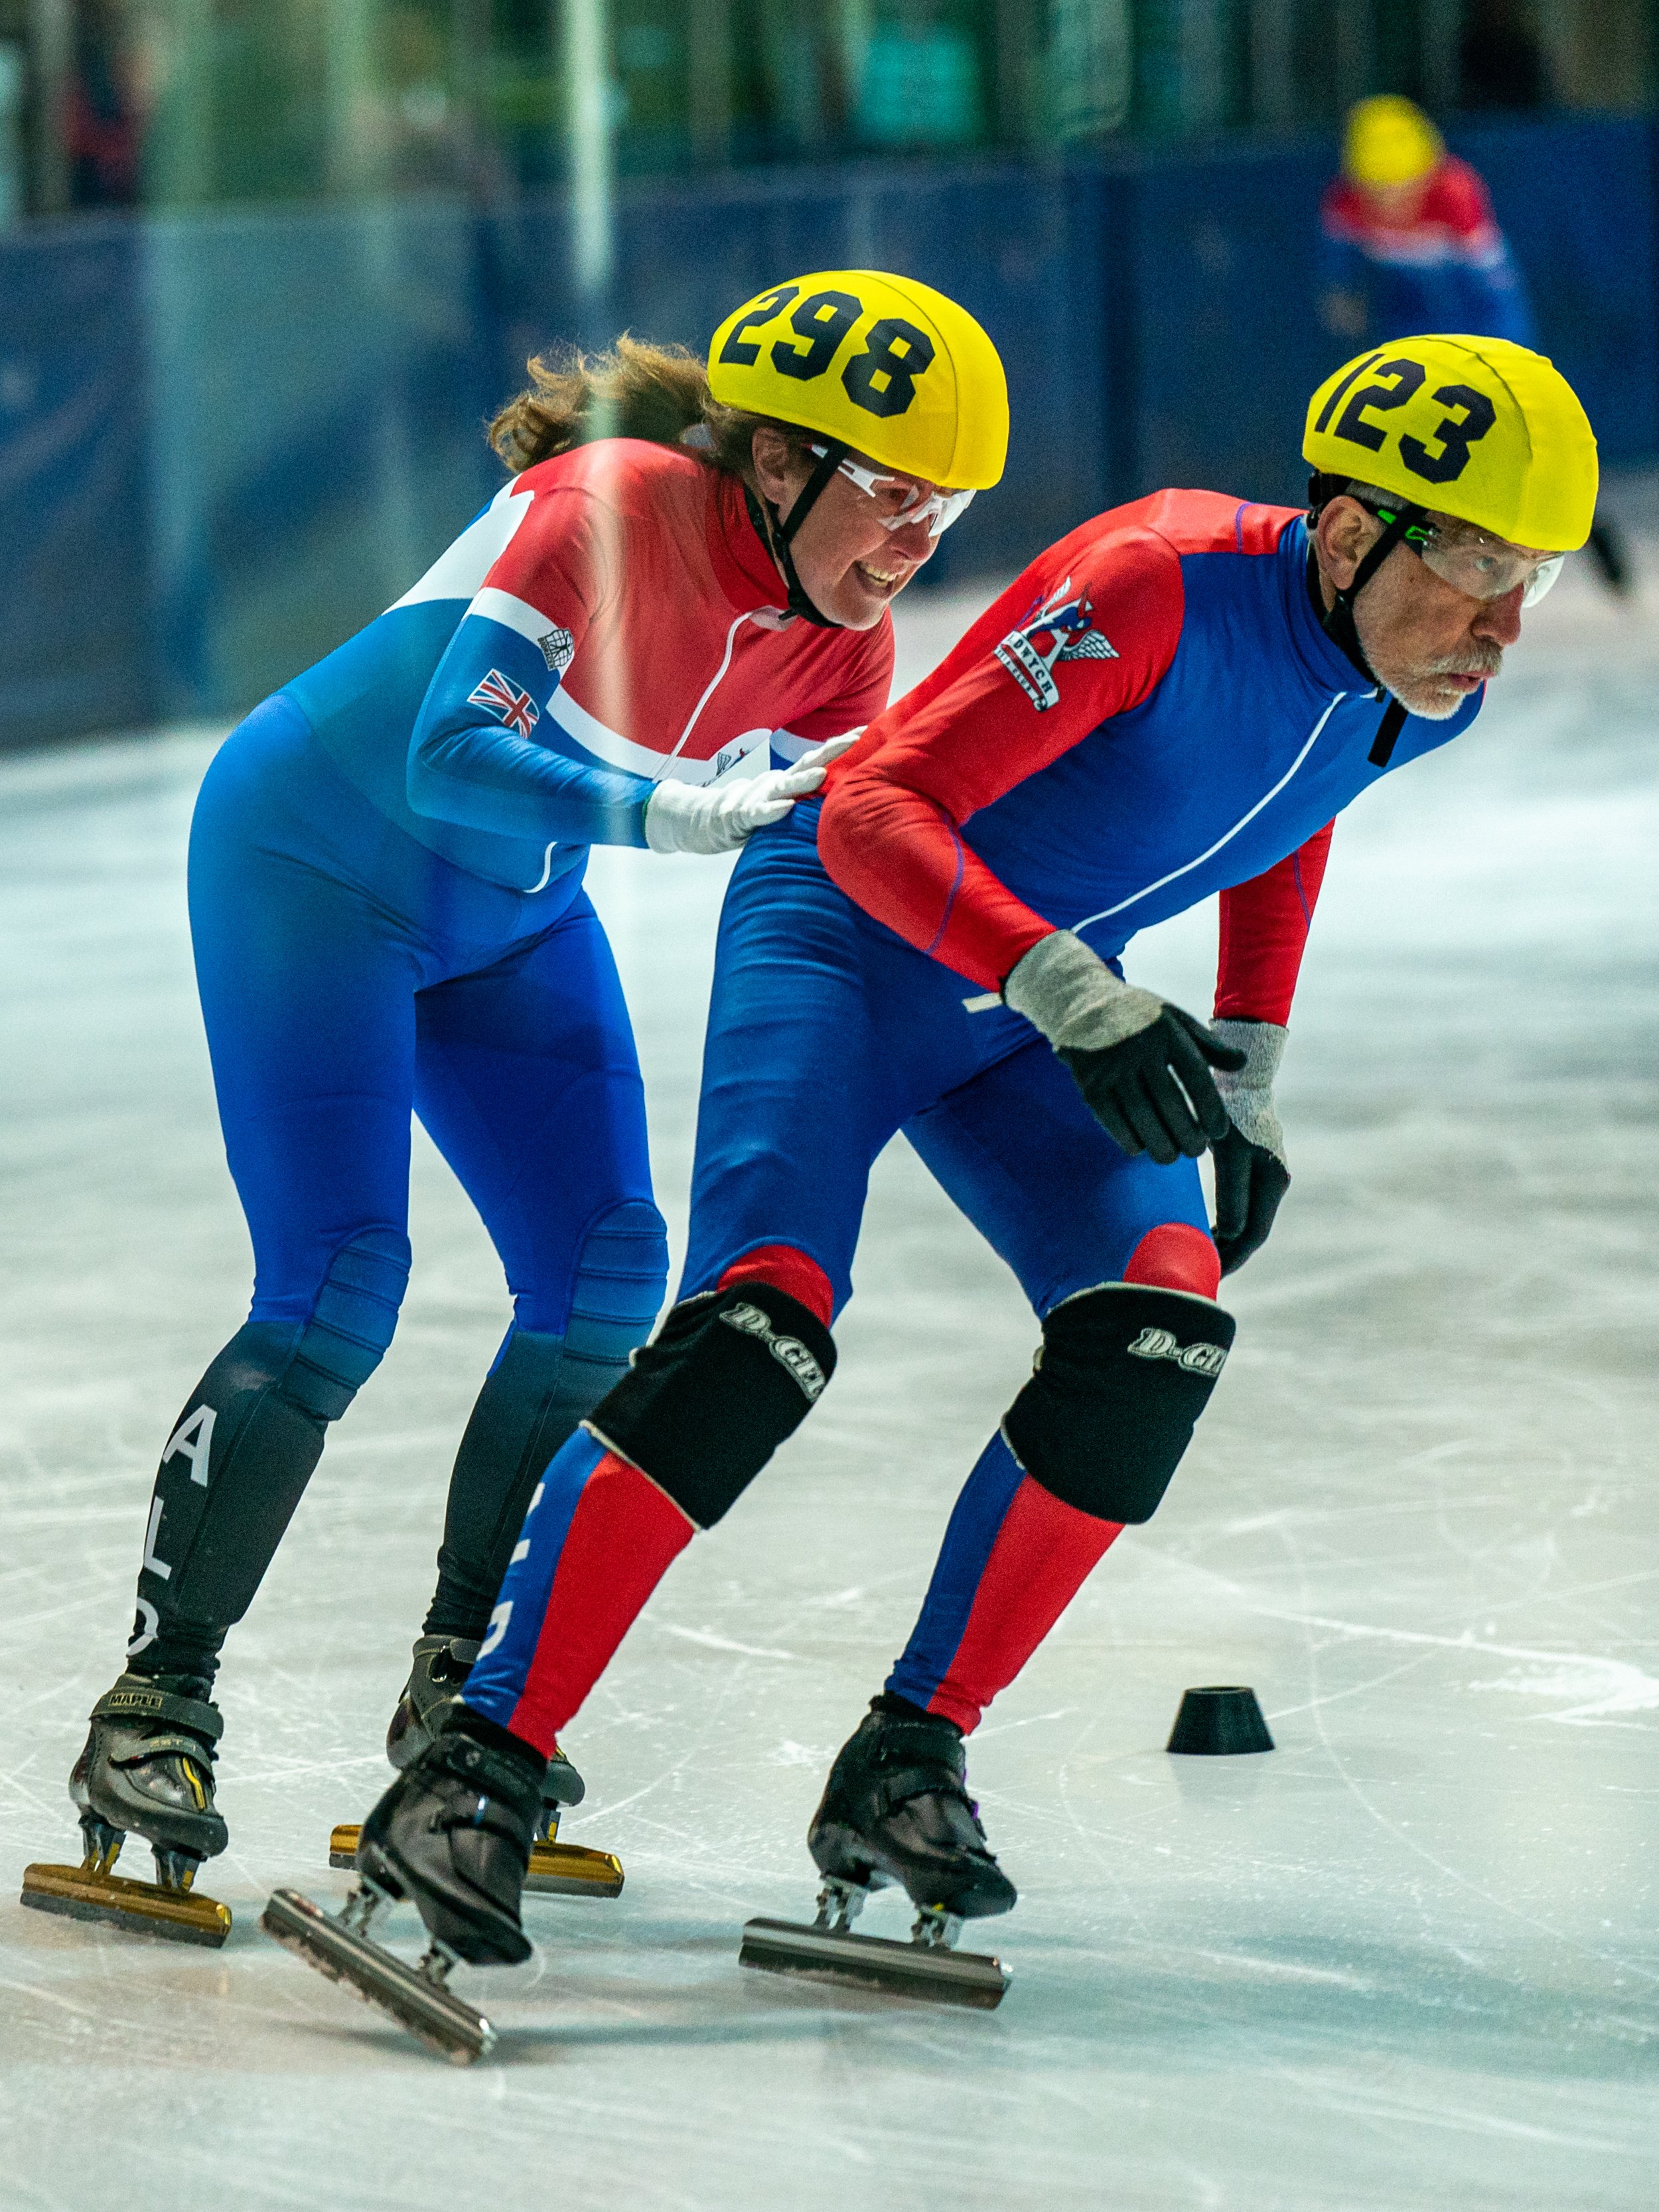
End of Project Image - Image copyright Megan S
Nikon D500; 70-200mm @ 200mm; 1/1000th Sec; f/3.2; ISO 200)
The competition was being assessed by 3 judges, each of whom could award up to 5 points, so the maximum score was 15. Each of my 3 images scored 12 (4 each from each of the judges) and Megan’s scored 13, which meant that one of the judges awarded it full marks. I can’t express how thrilled I was that she did better than me – and how proud I am of her.
My work was done. All that was left for me to do was to complete the form for Megan’s Duke Edinburgh Gold Award and to confirm how much she had achieved in a relatively short period.
“Michael has given me more confidence to go out and try new sports to photograph. I am very grateful I got to meet and learn from Michael, he is very knowledgeable in all sports, he explains thing very well and clearly making sure you understand - and is also very patient.” Megan S