(All images copyright Michael Berkeley Photography - no reproduction without permission)
Photographing track cycling was a very different challenge for me because I am primarily used to photographing sport outdoors - cricket, football, polo etc - or, if indoors, with consistent light, such as basketball and ice hockey. This was altogether different - and very exciting!
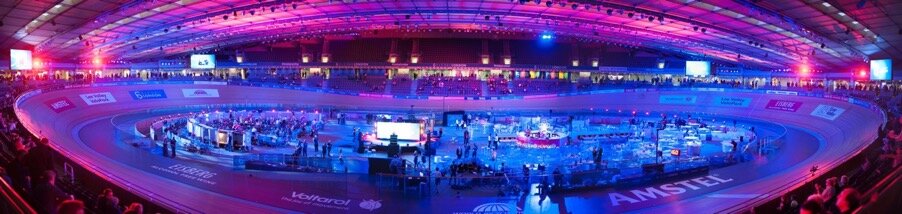
My experience of track cycling comes from 2 visits to Lee Valley VeloPark on Queen Elizabeth Olympic Park in London in 2017 and 2018. I had been given a photo pass for the Six Day London event and this gave me access to the photographers’ positions at the end of the finishing straight and also trackside access.
The Six Day Series website promises high octane action:
“The lights get turned down and the music turned up, as Six Day Cycling combines the very best in track cycling with an incredible party atmosphere. Expect the action to come thick and fast as our track centre DJ keeps the party going before, during and after the racing.”

(Nikon D500; 200-500mm at 200mm; f/5.6; 1/320th sec; ISO 12,800)
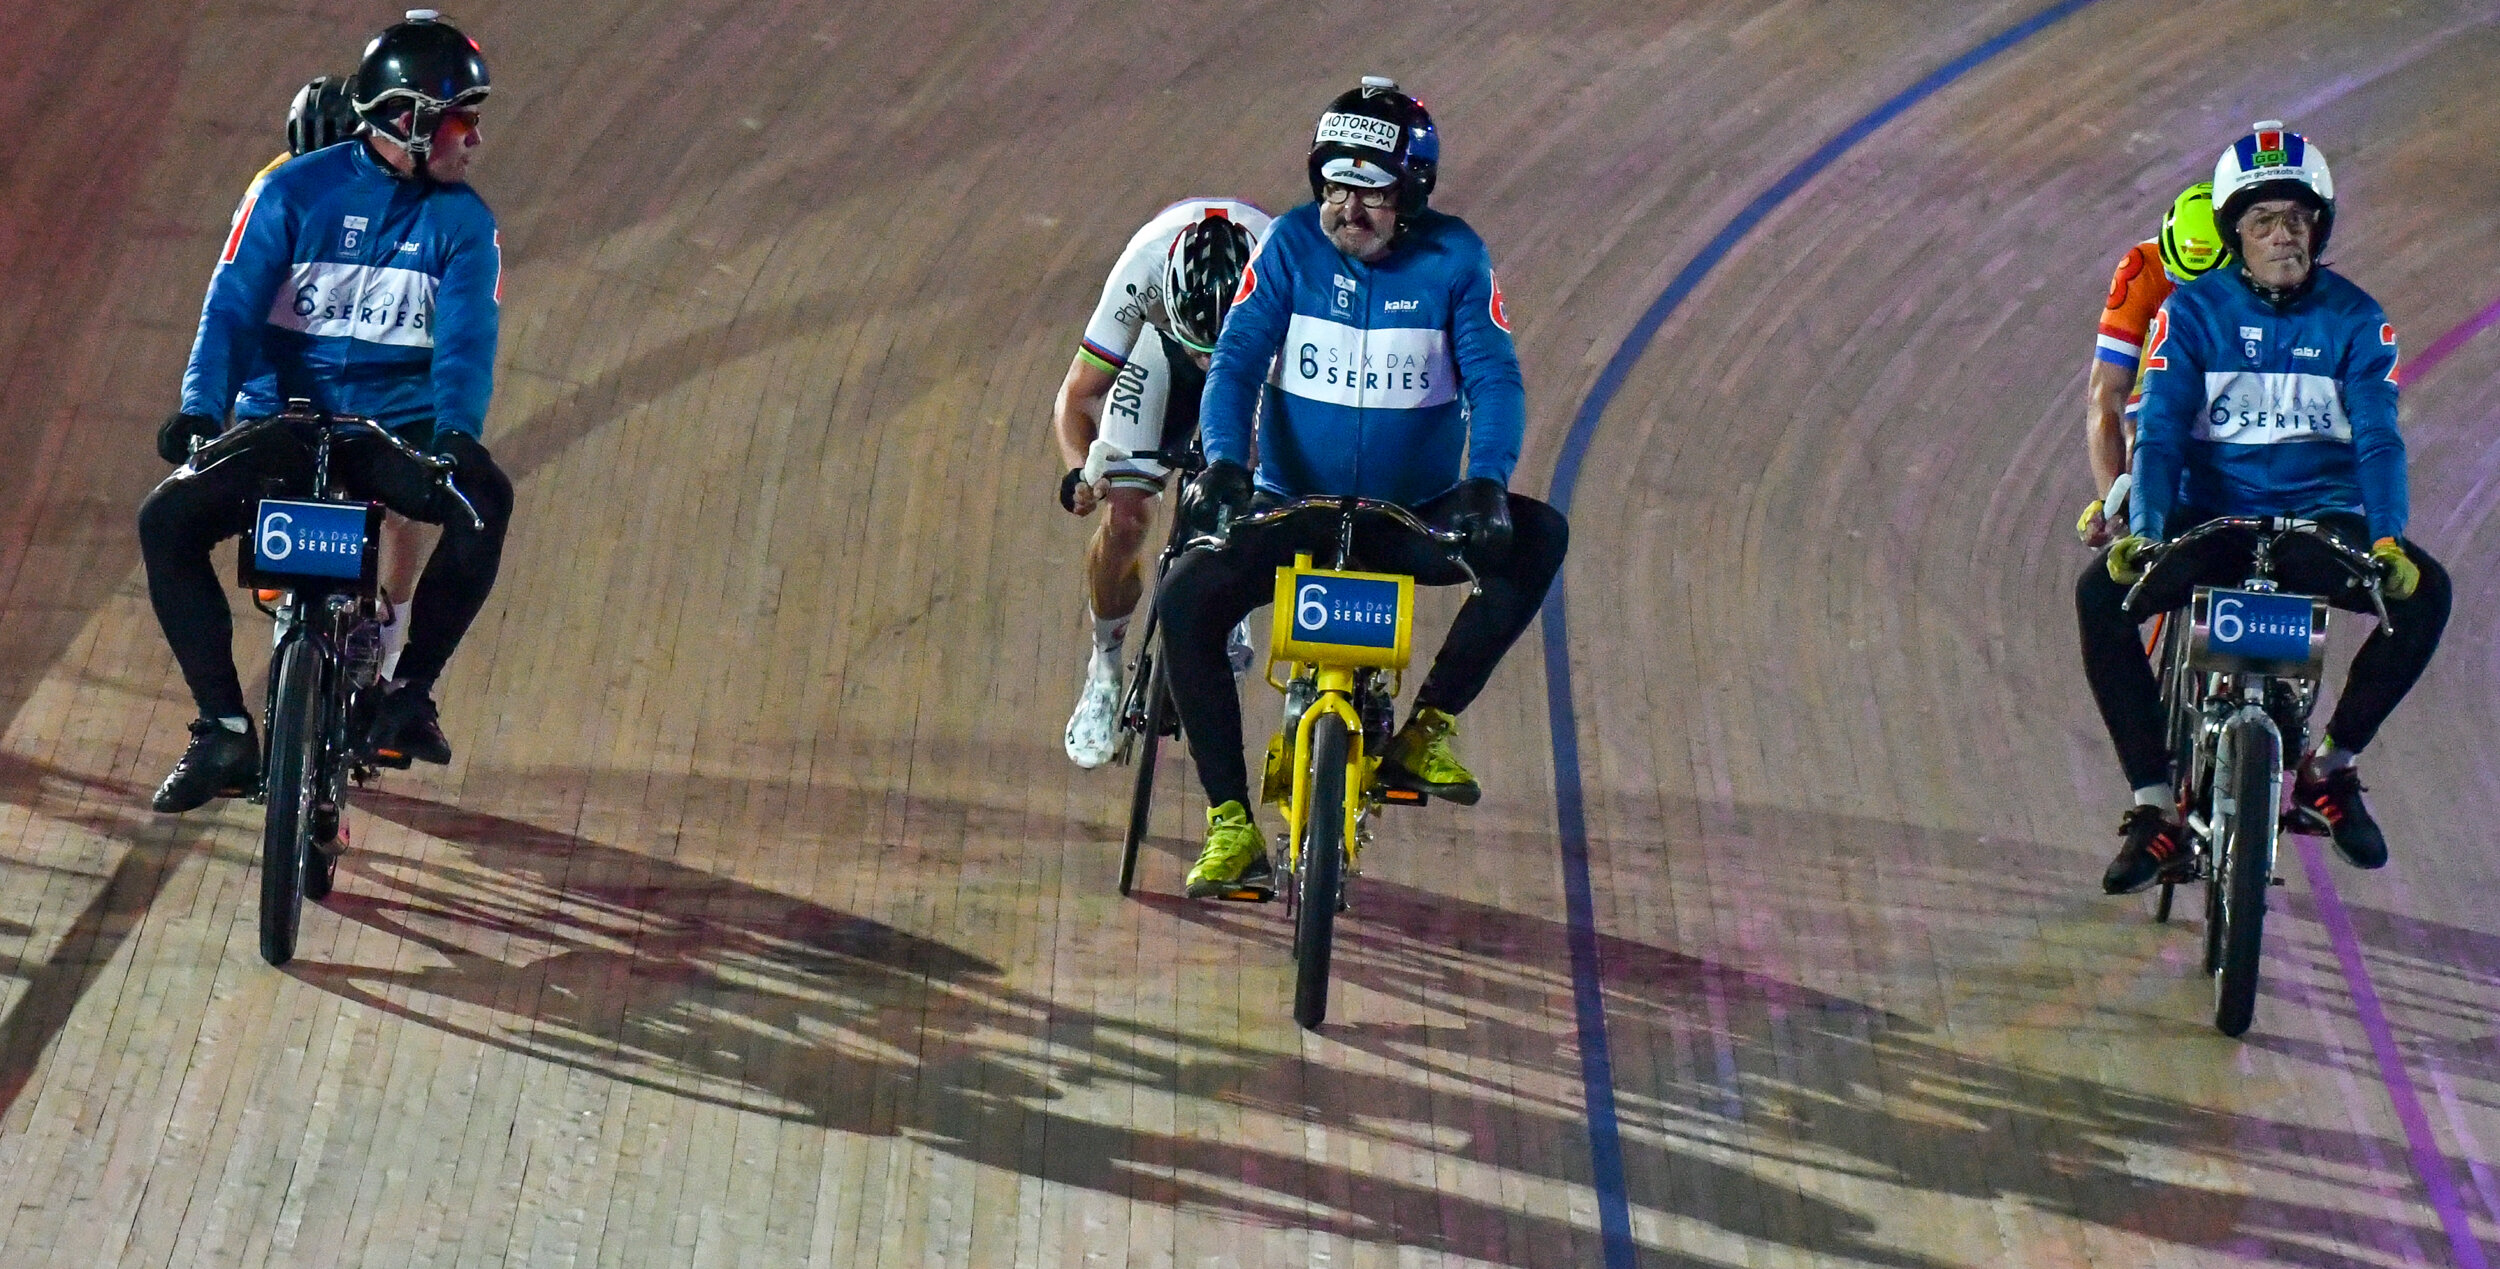
There is plenty of variety too, with events including the Madison (cycling in pairs); the Elimination (last one out); the Derny (each cyclist follows a moped); the 200m time trial (head to head); and the Keirin (all behind a single moped).
There is a great atmosphere and the audience is whipped up to a fever pitch of excitement. The party atmosphere is partly generated by the dramatic lighting, which of course makes it all the more interesting for the photographer.

(Nikon D500; 18-55mm at 55mm; f/5.6; 1/60th sec; ISO 2800)
I set out my ‘standard’ settings in my blog Getting into Sport and Music Photography. A high proportion of my sport images use a wide-open aperture to give a shallow depth of field, in order to separate the action and point(s) of interest from the foreground and background. While I did of course do this at the cycling, I found panning a more fruitful technique (see my blog on How to Photograph Speedway for more information on panning).

(Nikon D500; 70-210mm at 70mm; f/4; 1/80th sec; ISO 1800)
I used a Nikon D500 on both visits and I had a Nikon 200-500mm f/5.6 lens at both too. In 2017, however, I had an 18-55mm f/3.5-5.6 lens and a 70-210mm f/4-5.6 lens. In the challenging conditions, these struggled to get enough light into the camera. When I returned a year later, I was better equipped with a 24-70mm f/2.8 and a 70-200mm f/2.8.
One benefit of an event like this is that there is plenty of opportunity to try different positions, angles, settings etc. The races last for some while and there are therefore a large number of laps. Although the basic premise is the same – riding around the track in the same direction in every race – the different disciplines bring different characteristics to capture.

(Nikon D500; 70-210mm at 70mm; f/5; 1/320th sec; ISO 11,400)
In the Madison, for example, riders competing in pairs use a ‘hand-sling’ to catapult their partner forwards when they are handing over the turn to race – see photo above.
This is very different in character from the Derny, where the competitors ride in the slipstream of a motorised pacer (incidentally, the 6 Day Series website describes the expressions of the derny pacers as ranging from ‘inscrutable’ to ‘very inscrutable’). In the image below, the emphasis is on the derny riders, rather than the cyclists, in order to convey the character of this race.
(Nikon D500; 200-500mm at 200mm; f/5.6; 1/320th sec; ISO 8000)
And in the Sprint … Racing is highly tactical, with the 2 riders vying for position, occasionally leading to both of them executing track stands – i.e. not moving – in order to make the other go first (see below). This is trying to ‘tell the story’ of how the 2 cyclists are highly competitive and trying to get one over the other – by doing nothing.
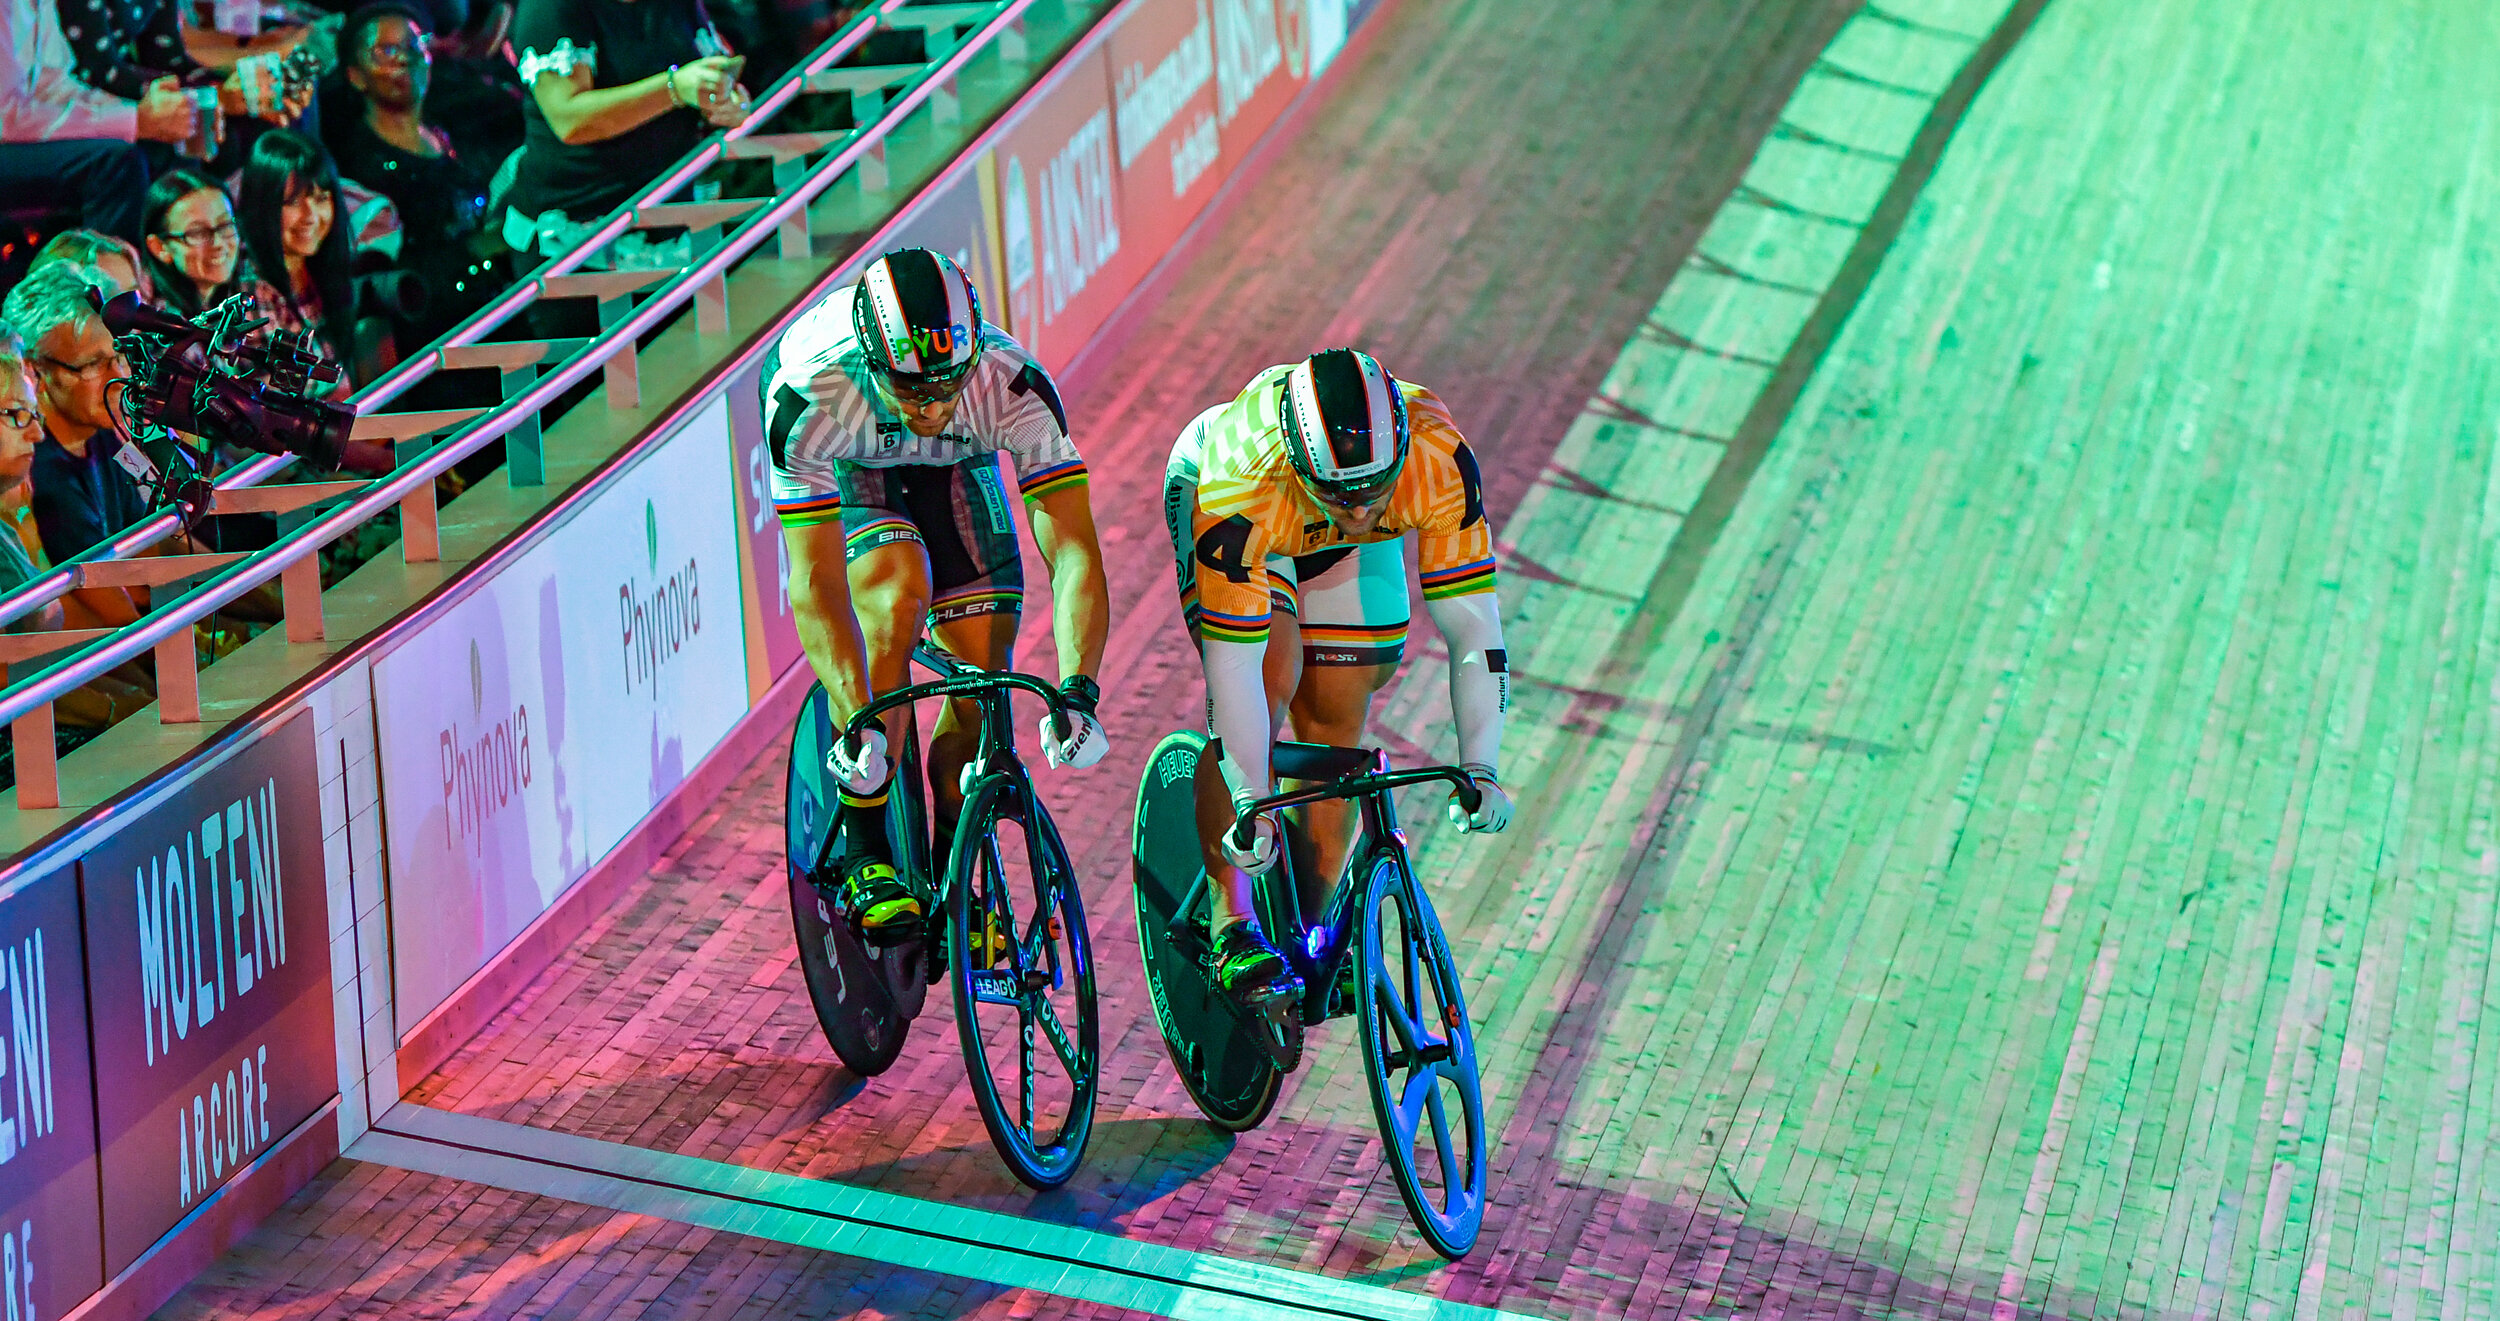
(Nikon D500; 70-200mm at 150mm; f/2.8; 1/80th sec; ISO 1600)
As I mentioned at the start, the majority of my sport photography tends to be outdoors and during daylight and, where I have photographed sport indoors, the lighting has been constant. It was very exciting therefore to photograph an event where the light show was all part of the atmosphere. The races themselves were conducted with the stadium lights dimmed and the track itself lit, providing great opportunities to play with shadows.

(Nikon D500; 70-200mm at 98mm; f/2.8; 1/400th sec; ISO 800)
At the end of each race, spotlights followed the victorious rider around the track on their celebratory lap – see below.

(Nikon D500; 200-500mm at 200mm; f/5.6; 1/320th sec; ISO 7200)
While the photographers’ positions at the end of the finishing straight gave a perfect view down the track, the images were taken from higher up, which meant that it was more difficult to see the riders’ face, even when they were at the far end of the track.
By getting down to track level, it was possible to get much closer to the action and, by crouching down, almost to look up at the riders as they went past.
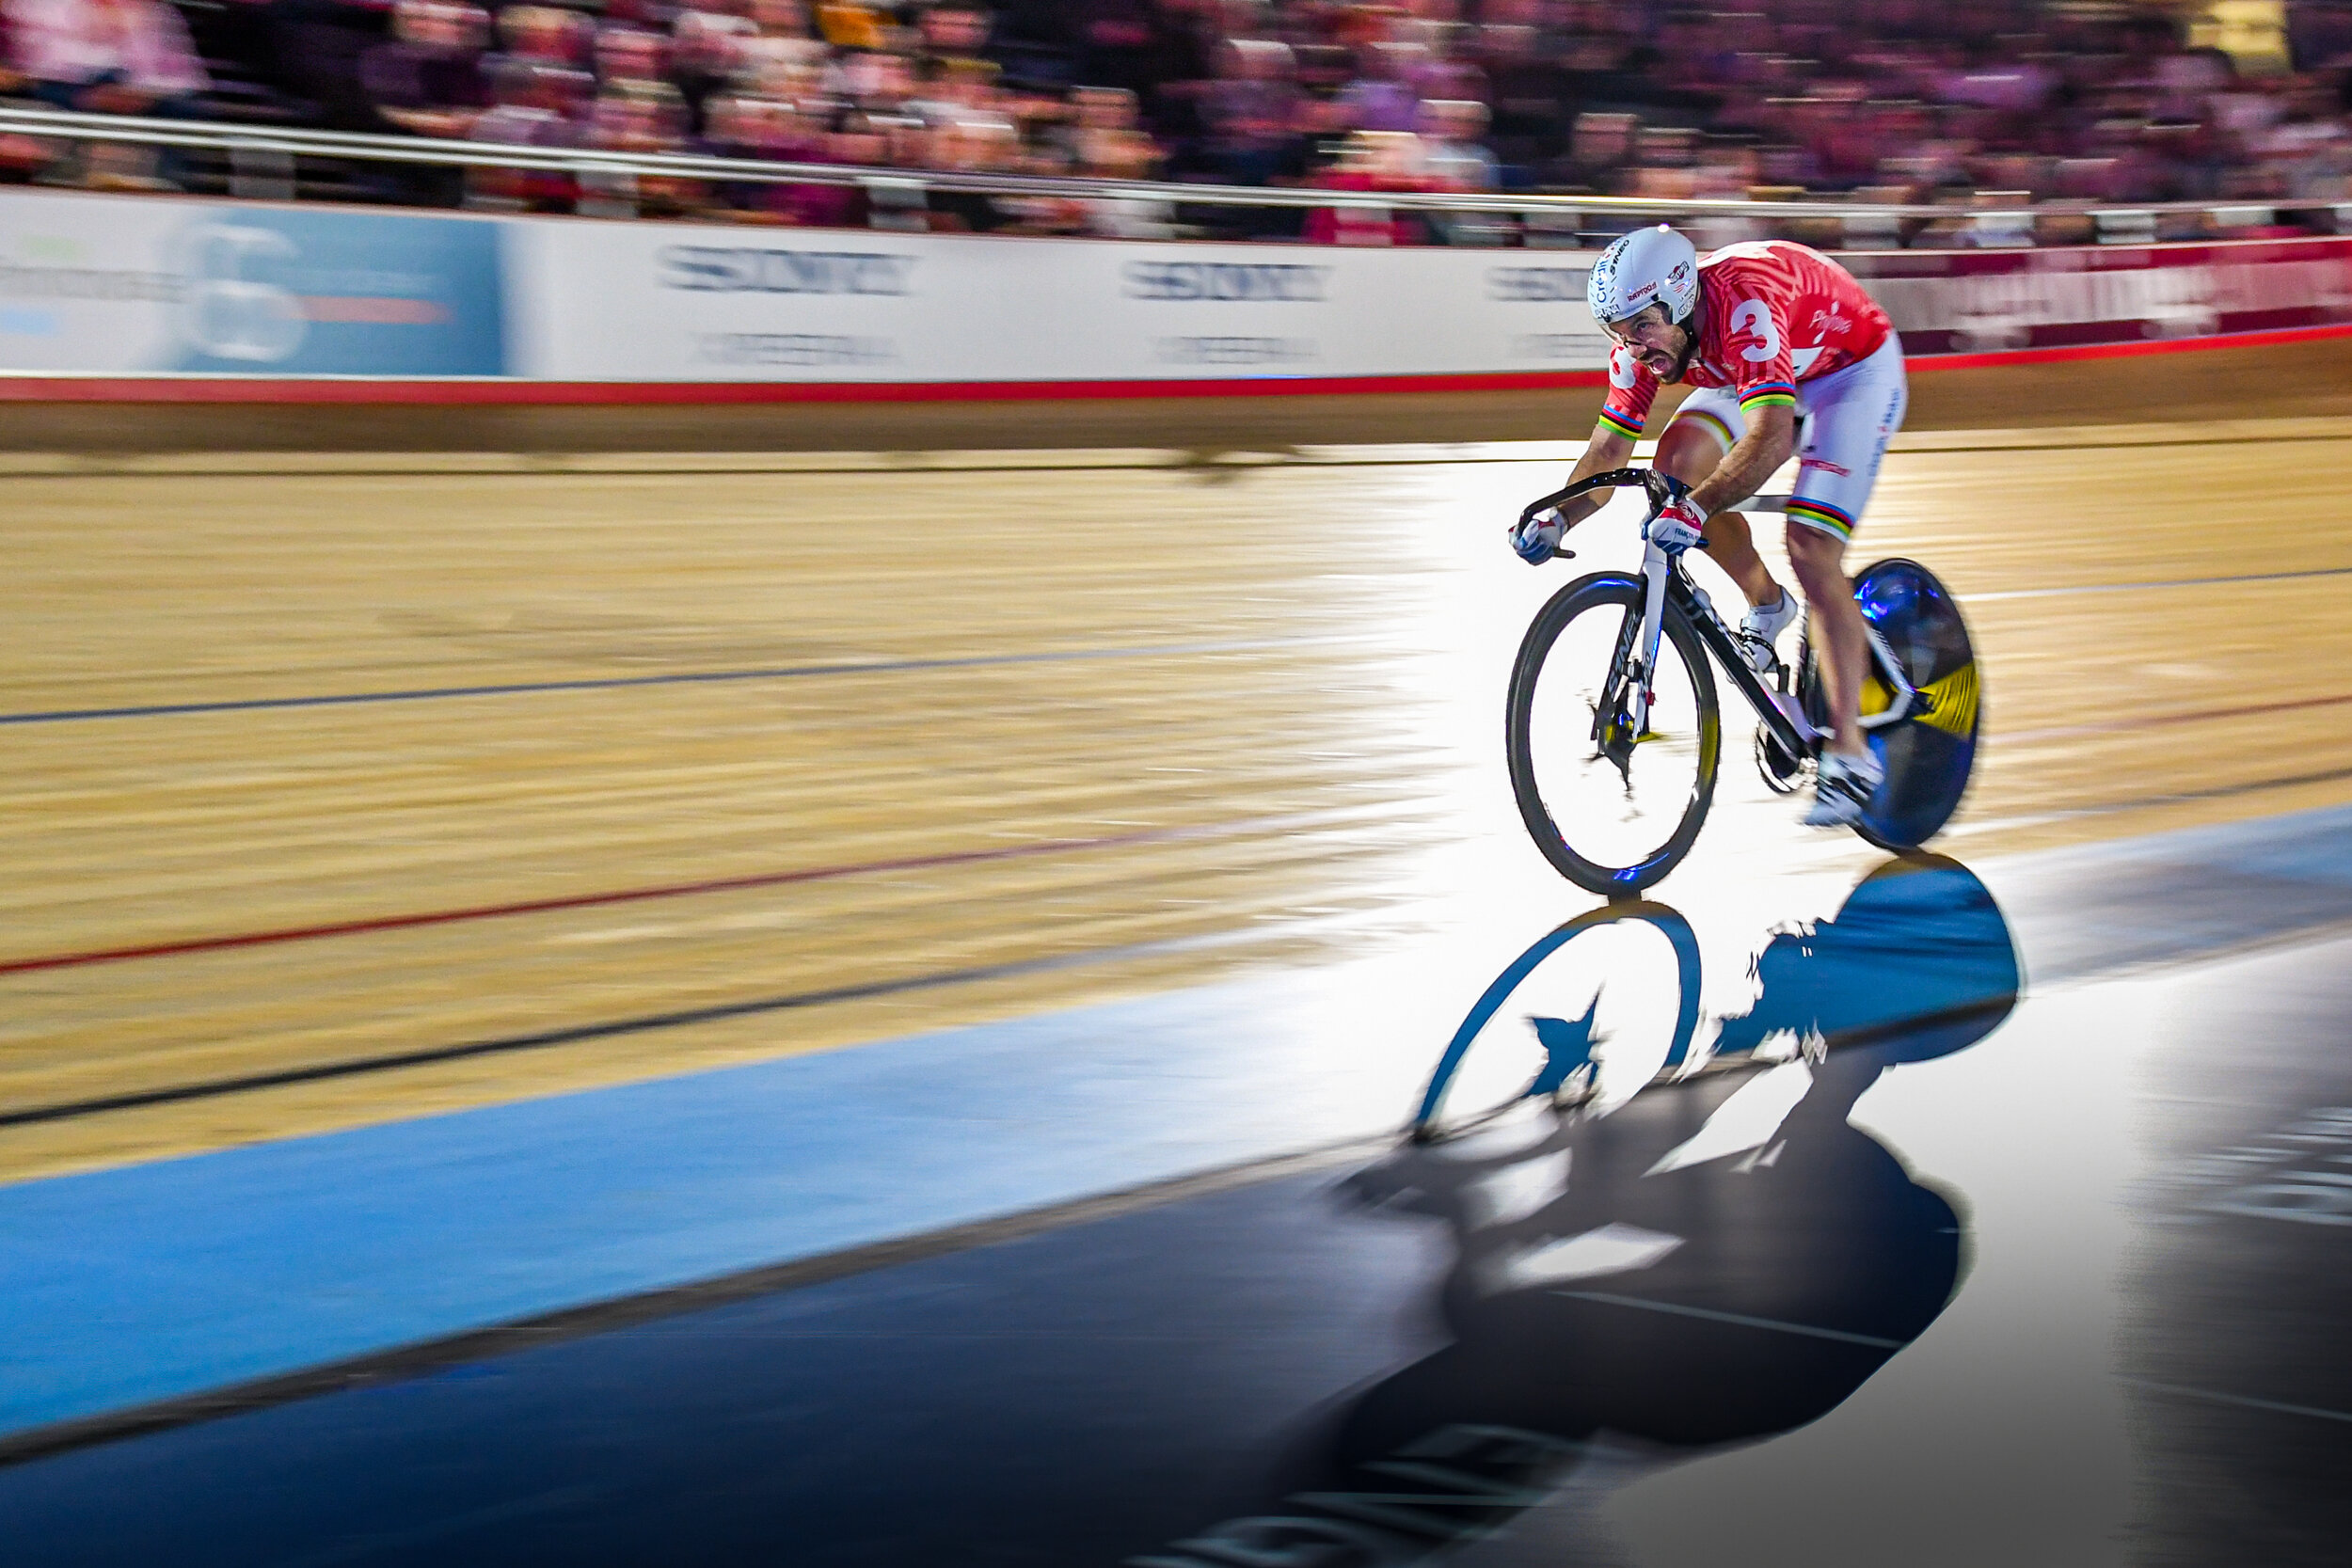
(Nikon D500; 24-70mm at 24mm; f/2.8; 1/100th sec; ISO 1100)
The photograph above was taken with a wide-angle lens, and the rider was only feet away and travelling at speed. The shutter speed of 1/100th second was enough to provide motion blur, whereas a faster shutter speed would have made it feel more static. Moreover, taking the image directly into the bright light – on the third – draws the eye to the rider’s face and bicycle … The photo below was taken with the same lens but zoomed in. Again the shadow comes into play.

(Nikon D500; 24-70mm at 70mm; f/2.8; 1/100th sec; ISO 1400)
It is always tempting to lose concentration when the main action is over, but this is often when there are interesting photos to be had. It is always worth keeping alert – and resist the temptation to review the photographs that you have already taken!
The image below shows the celebratory victory lap and the connection between the rider and the audience. It brings together interesting lighting, the curves of the track side, and the rider’s colourful clothing to produce an atmospheric shot.

(Nikon D500; 200-500mm at 240mm; f/5.6; 1/320th sec; ISO 5000)
Both my visits to Lee Valley VeloPark were hugely enjoyable and the photography was extremely rewarding. As I am not used to photographing in such conditions, the main challenges were to exploit the dramatic lighting to best effect and also to convey the variety of cycling spectacle that is the Six Day Series.
With particular thanks to Six Day London.
If you have enjoyed this blog or if you have any comments, please leave a message in the comments box below. If you have any questions for me, please email me direct at berkeley.m@yahoo.com.